Setting Up Blog in Github Pages
Jekyll Configuration.
Introduction
I started to work at Metosin and pretty soon a couple of my colleagues complained that they don’t like to read my blog posts in Medium. I was a bit puzzled since I have always liked Medium - writing blog posts is pretty easy and Medium is a good publishing platform. In Medium I occasionally got offers to add my blog posts to some publishing channel behind the paywall but I was never interested to do that - I like that my blog posts are free for anyone who might find something useful there. But after listening to my colleagues’ nagging for a few weeks I finally gave in and decided that I have to create my own independent blog site. When I thought about it the idea actually started to make sense: I can have my blog posts in my site and then also syndicate the blog posts in Medium besides my site. (I understood that my colleagues’ reluctance to use Medium had something to do with an idea called “Posse”).
This blog post is a story about how I created my new blogging site.
Options
I examined my options a bit, whether to use e.g. something like WordPress installed e.g. in AWS. I’m pretty proficient in AWS, but I wanted minimal infra hassle with my new blogging site. Someone suggested Github Pages. After some investigation I decided to use Github Pages. One of the most important reasons was that I didn’t need to install databases or any other infrastructure. Github Pages uses static site generation - an idea that you have your site’s raw material in markdown format. This makes updating your site really easy since the static site generator creates your site based on the markdown files and instructions on them.
So, after choosing to use static site generation I had to choose whether to generate the site myself or let Github pages generate the site for me. I chose the latter option. I just push the latest changes to my master branch and in a minute or so I can see my changes in my site. Github pages use Jekyll and there are good instructions how to use Jekyll with Github pages. So, I’m not iterating those manual steps how to create a git repo, etc. - the reader can read those instructions in Github Pages documentation. Instead, I explain some tools and how I used them to convert my old blog posts to my new site.
Install Jekyll
So, after setting up a github repo you need to install Jekyll. Jekyll is a Ruby Gem, so you need to install Ruby first. Just to be on the safe side I checked the Github Pages Dependency versions and installed the exact versions in my Ubuntu. I must say that there was some hassle to install Ruby, Gem, etc. in Ubuntu, so don’t expect things to go smoothly (I use Python as a scripting language, so I knew nothing about Ruby when installing it). After installing Jekyll just follow Github Pages instructions how to use Jekyll.
After creating the initial Jekyll setup with command bundle exec jekyll new . --force you can start the Jekyll server to watch the changes in your directory - Jekyll generates automatically the new site after any changes in your directory - and pretty fast: bundle exec jekyll serve --watch. Then just open browser in http://localhost:4000 and check how your new site looks like.
Initial Conversion
Medium provides instructions how to download your personal data and stories as HTML files. So, first I downloaded my material from Medium. After following the steps in the above instructions you get an email and link to download a zip file which comprises your material. Just unzip the content somewhere in your file system.
The next thing was to inspect the material. Ok, not looking good. All posts are full of cryptic Medium related css style instructions. I’m not a frontend developer so I didn’t want to look that. I googled a bit of how to convert Medium to markdown and found an excellent solution: medium-to-jekyll tool. The tool did the trick quite nicely (mostly). The html posts were converted into markdown format. The images were nicely in my new Jekyll img directory - but with cryptic Medium image filenames. The first thing I wanted to fix was to use some reasonable image file naming convention. So, I wrote a small Python script to parse the cryptic image file names from the new markdown files, change the file names so that the image file name is based on the post file name, replaced the image file names in the posts markdown files and renamed the image name itself:
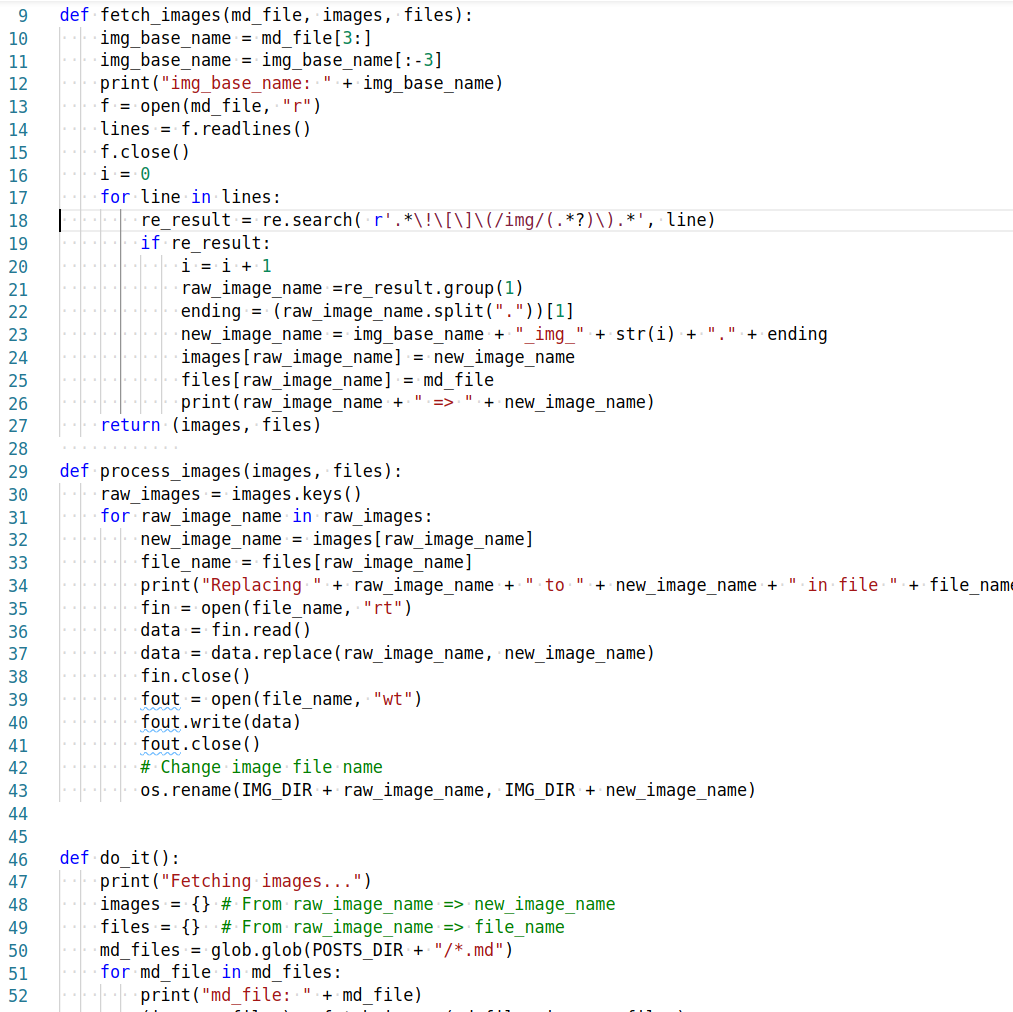
Changing the image file names.
All right, now I had a bunch of markdown files and related image files with reasonable file names.
Some Tweaking with sed
The markdown files (and I guess the original Medium html files) had some issues that were pretty easy to fix using sed. E.g. all underscores were escaped by \ character, like \_. So, fix them:
sed -i 's/\\_/_/g' *.md
Medium had used strange ”“ and ‘’ characters in quotes - not working in code examples. So, fix them:
sed -i 's/[”“]/"/g' *.md
sed -i 's/[‘’]/'\''/g' *.md
I did some other tweaking with sed like that, e.g. some headings didn’t have a line break before them etc. So, using sed I was able to automate most of the issues without having to fix them manually in every file.
Something that I actually should have automated was fixing the hyperlinks in my content. The blog posts had hyperlinks to my other content - in Medium. So, I wanted to convert those hyperlinks to point to my new site. I could have written a Python script for that as well but I thought that there are not that many hyperlinks - there was. But I converted them manually while checking the blog posts one by one.
So, I started to check every post using the browser (remember: bundle exec jekyll serve --watch). This was a bit tedious part of the work, but I wanted to check that every post looked “ok”. Mostly I fixed the hyperlinks I told earlier, and various code blocks since in Medium the code block functionality was not that good and code in code blocks was not formatted properly. In markdown files you can tell in the code snippet block which programming language the code snippet is and Markdown properly highlights your code snippet according to the programming language syntax, e.g. from post Five Languages - Five Stories:
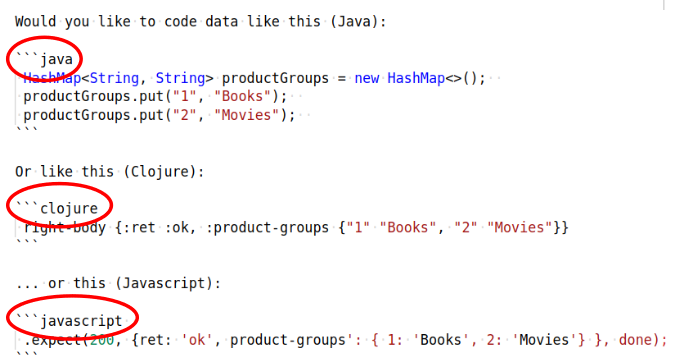
Using formatting instructions in Markdown.
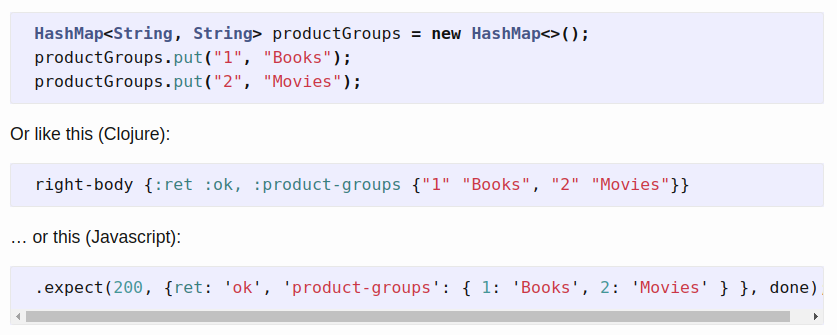
… and how it looks like in browser.
So, after checking every post I pushed the changes into the master branch in my Github account - and after a minute or so I could check the posts in Github Pages and check that they looked the same as in my Jekyll localhost development bench.
Some Final Visual Styling
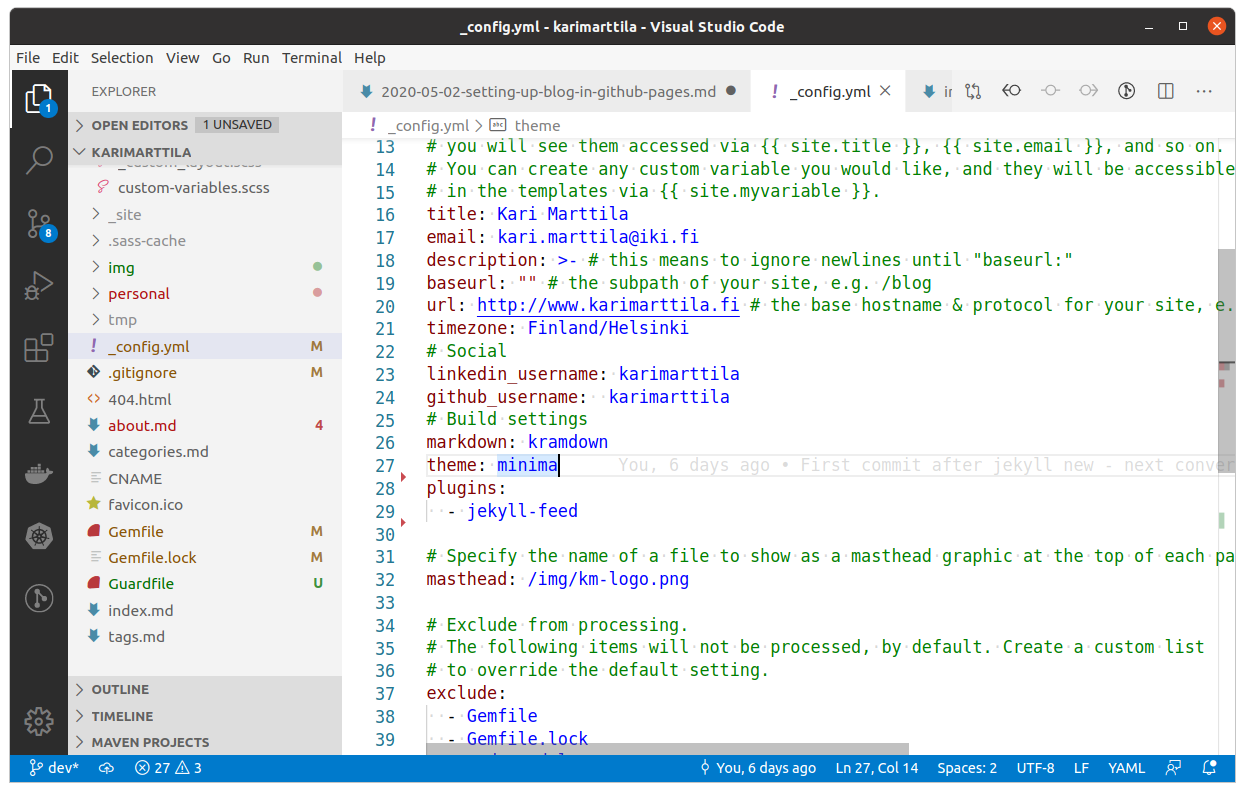
I had asked a friend of mine who is a graphic designer to recommend a good visual theme for my new web site. He recommended Merlot. I had some issues with Merlot so I just used the default Minima. But I wanted to have at least some personal styling added to the default them, so I:
- Added a favicon.ico (created it using favicon.io).
- Created a logo with the same style as the favicon icon (just using LibreOffice Draw).
- Added a blue header area in which I added the logo (tweaking Minima header.html a bit).
Other Observations
What I realized only later on was to add a new Gem to automatically reload the web page in the browser. If you are also starting to use Jekyll, remember to add gem 'guard-livereload' into your Gemfile - it will make your life easier so that you don’t have to manually reload the web page when you want to see the changes there.
Domain Name
If you go the same path as I did I strongly recommend you to get a domain name. You can configure your Github Pages to use a domain name - one final personal tweaking to your new blog site. So, I purchased domain karimarttila.fi.
Markdown Wizardry
If you make your new website as a hobby you can tweak the markdown as much as you like. Github Pages lists some good sites that you can browse to get ideas what kind of tweaking you can do with markdown. It is pretty easy e.g. to provide a page in which you list all your blog posts per tags used in particular posts, see Joe Kampschmidt’s excellent examples for more information.
Conclusions
Creating a personal web site for your blog was an interesting journey. Having your own blog site with static site generation provides interesting new possibilities to elaborate your site in ways most blogging site providers cannot give to you. And as a bonus: now your blog posts are in a version control system.
The writer is working at Metosin using Clojure in building applications running in cloud. The writer is also an enthusiastic blogger writing e.g. about Clojure & cloud - now here in Github Pages.
Kari Marttila
Kari Marttila’s Home Page in LinkedIn: https://www.linkedin.com/in/karimarttila/