React State Management
Typescript code related to state management.
Introduction
This blog post is a continuation for my four earlier blog posts:
- Javascript and Node Impressions
- Typescript and React Impressions
- Javascript Backend Testing
- Javascript API Authentication
In this new blog post I continue my Javascript / Typescript story implementing the login process and state management in the frontend side.
The demo app is in my Github repo: js-node-ts-react.
For experienced Javascript programmers, there is nothing new in this blog post. I created this exercise and this blog post just for my personal learning purposes to learn how to do authentication related solutions in a React application.
Redux
I use Redux Toolkit to implement the Redux store and the related functionalities. Redux Toolkit makes using Redux a bit simpler.
What is Redux then? Redux is a state management framework for a React application. Using Redux you can centralize the application’s state and related code, and make the state React-aware. You could use useState React hook, but using the useState hook is more idiomatic to be used in a smaller context like using state inside a page. If you need the state in several pages you should consider using some centralized state management solution like Redux.
The use-case described in this blog post is perfectly suited for this purpose: after the login process we get a token which we need to store centrally somewhere. We have various pages that need to fetch data from the backend, and all those backend APIs require authentication - the token to be passed in the header of those API calls.
The Redux Toolkit provides good Quick Start Guide how to start using Redux. First you need to wrap your React components with the Redux Provider (main.tsx):
root.render(
  <React.StrictMode>
    {/* https://redux-toolkit.js.org/tutorials/quick-start */}
    <Provider store={store}>
      <RouterProvider router={router} />
    </Provider>
  </React.StrictMode>,
Let’s examine the login process next.
Login
First we need a login page for our frontend application:
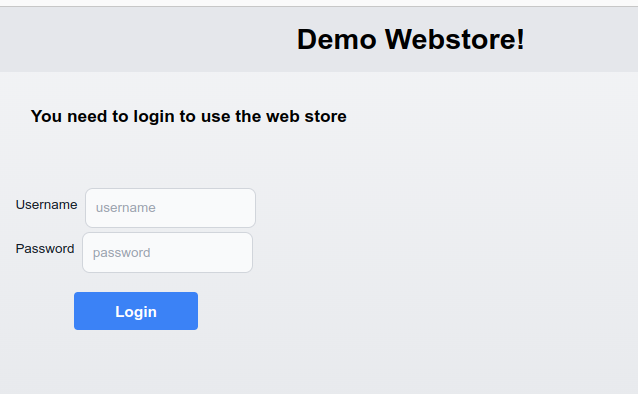
Login page.
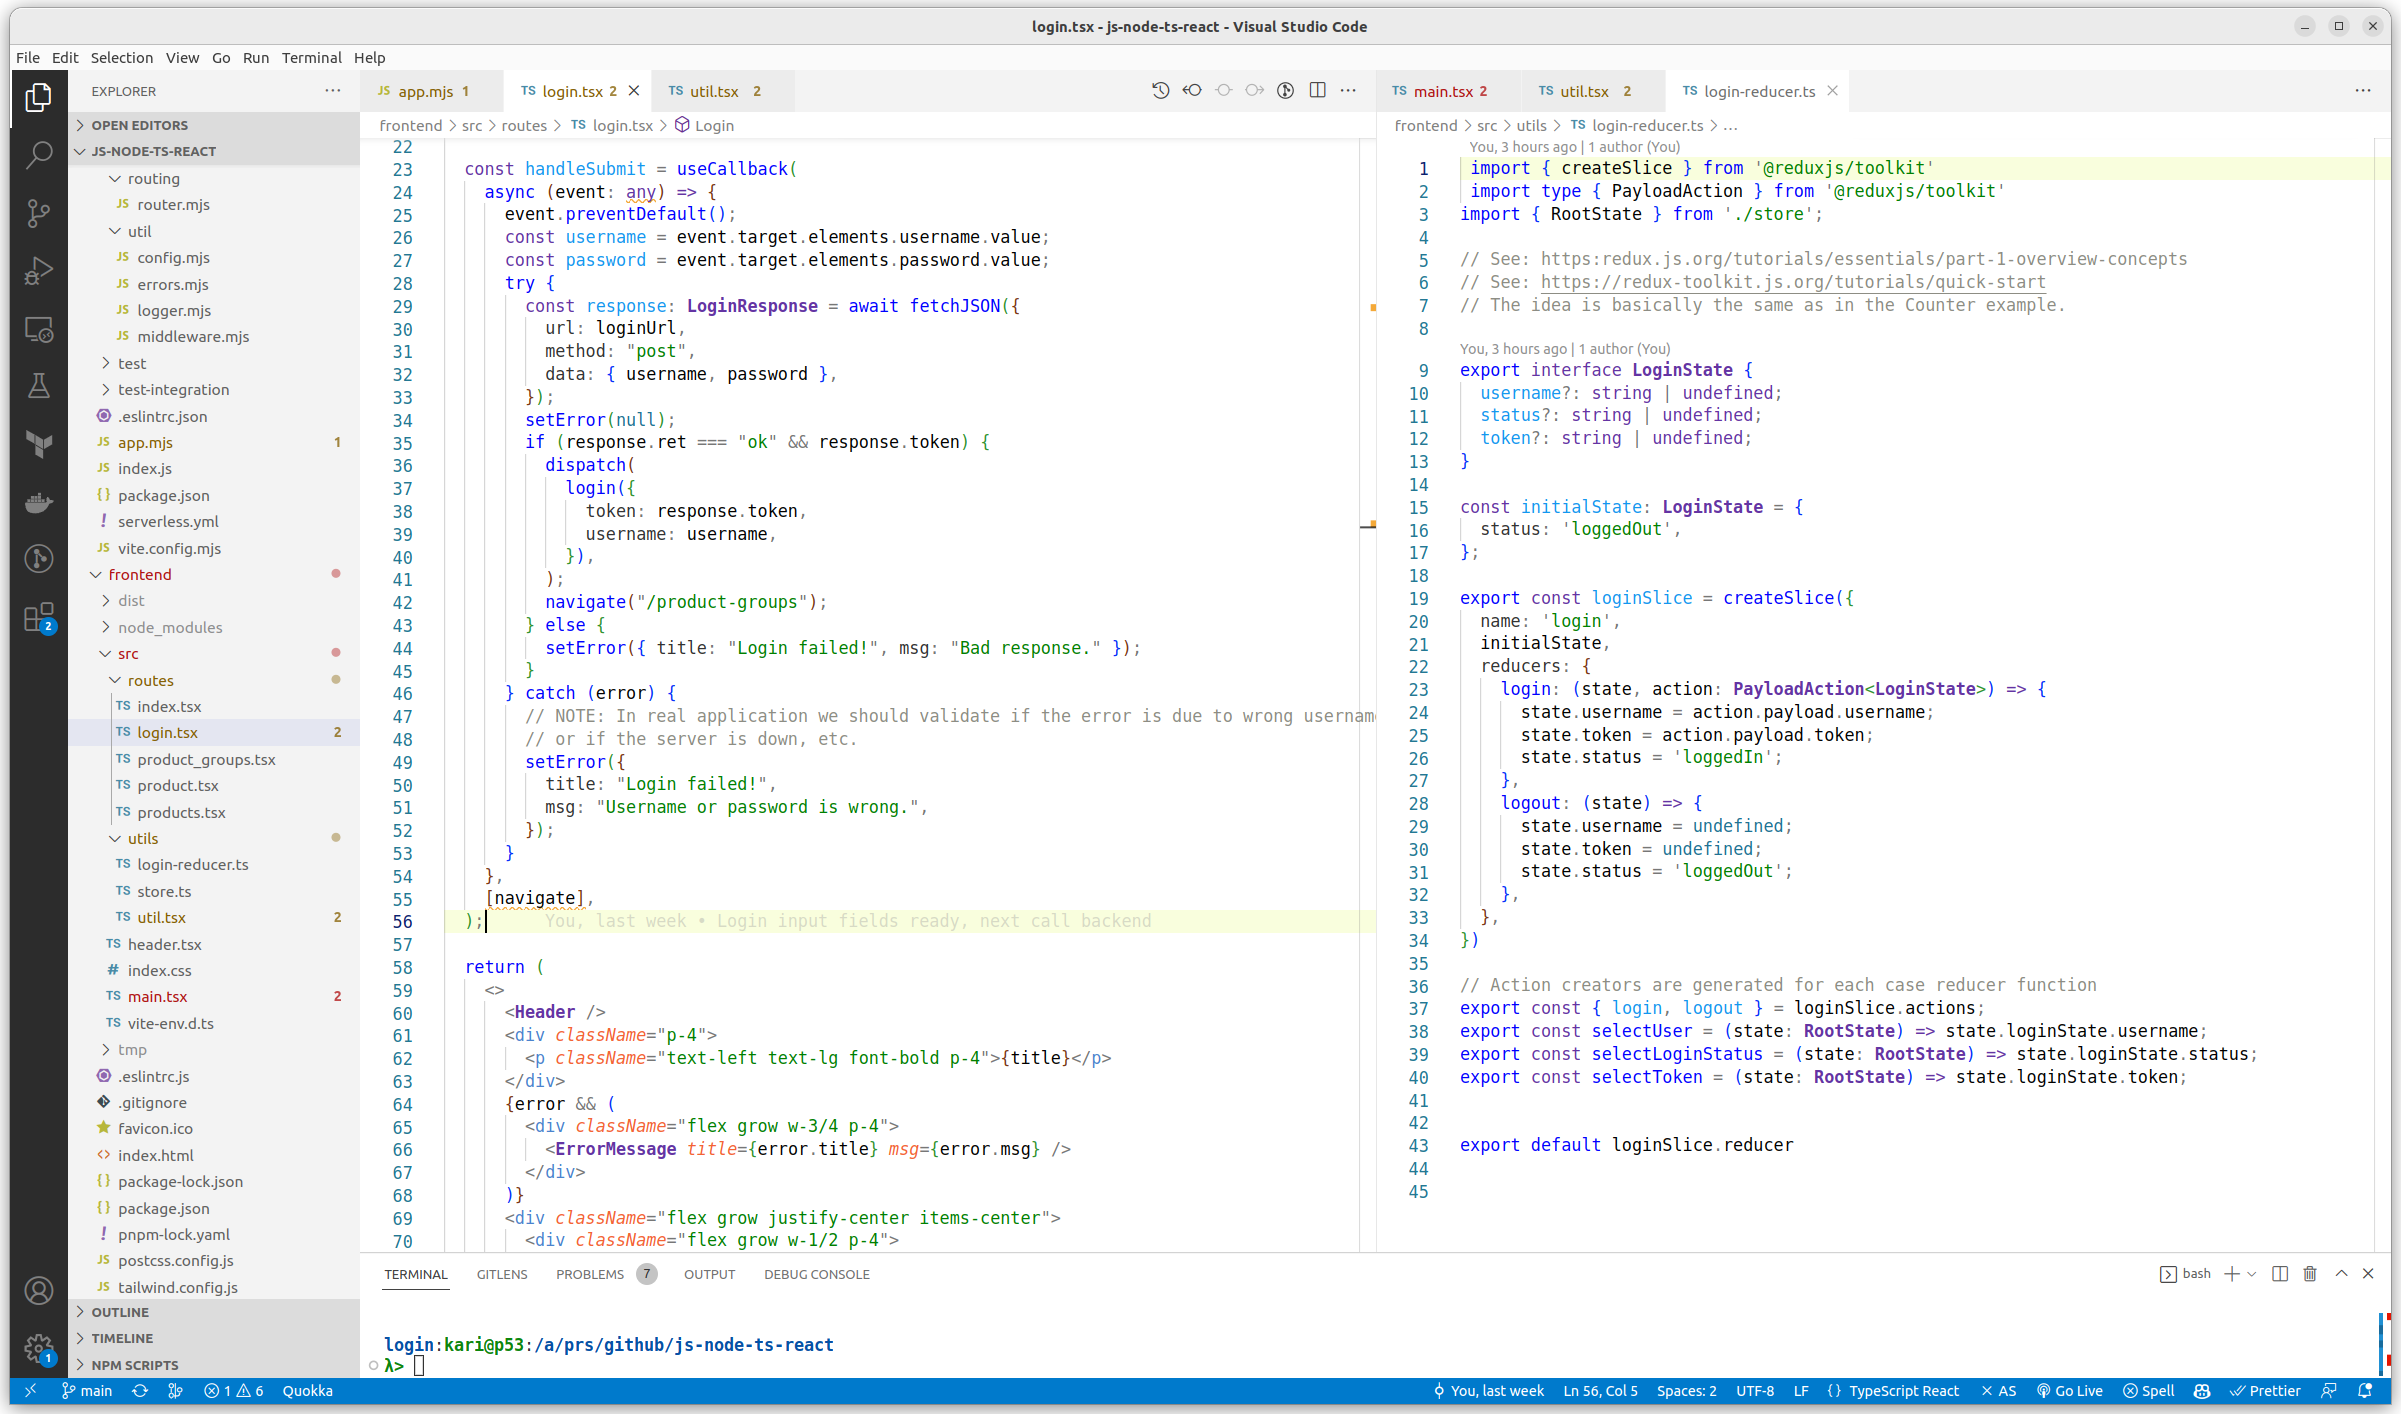
Let’s examine the submit handler in more detail (login.tsx):
  const handleSubmit = useCallback(
    async (event: any) => {
      event.preventDefault();
      const username = event.target.elements.username.value;
      const password = event.target.elements.password.value;
      try {
        const response: LoginResponse = await fetchJSON({
          url: loginUrl,
          method: "post",
          data: { username, password },
        });
        setError(null);
        if (response.ret === "ok" && response.token) {
          dispatch(
            login({
              token: response.token,
              username: username,
            }),
          );
          navigate("/product-groups");
        } else {
          setError({ title: "Login failed!", msg: "Bad response." });
        }
      } catch (error) {
        // NOTE: In real application we should validate if the error is due to wrong username or password,
        // or if the server is down, etc.
        setError({
          title: "Login failed!",
          msg: "Username or password is wrong.",
        });
      }
    },
    [navigate],
  );
We send the username and password to the backend and if everything goes well we get back the token that the frontend must use to authenticate itself when calling backend API that requires authentication.
The most interesting part of this code is this:
...
        if (response.ret === "ok" && response.token) {
          dispatch(
            login({
              token: response.token,
              username: username,
            }),
          );
          navigate("/product-groups");
...
The dispatch call is a React hook (useDispatch) which we can use to dispatch functions to be processed by the Redux store. Let’s examine that next.
Redux Reducers
State is something that you want to store centrally in your application (like the token we need to store for backend API calls). Redux has a concept of Redux reducers to manipulate that state. A Redux reducer is simply a function that takes the state and an action as arguments, and returns a new state as a result.
To use our token as an example. We store three pieces of information in our Redux store:
- Login status (whether the user is
loggedInorloggedOut). - The username that we want to show in the header if the user is
loggedIn. - The token that the frontend needs to call the token protected backend APIs.
The state changes when the user logs in or logs out. When the user logs in, we get the username that is logged in, and the token.
We implement the login and logout reducers (login-reducer.ts) to manipulate the state:
export const loginSlice = createSlice({
  name: 'login',
  initialState,
  reducers: {
    login: (state, action: PayloadAction<LoginState>) => {
      state.username = action.payload.username;
      state.token = action.payload.token;
      state.status = 'loggedIn';
    },
    logout: (state) => {
      state.username = undefined;
      state.token = undefined;
      state.status = 'loggedOut';
    },
  },
})
So, the login reducer stores the username and the token into the Redux store. The logout reducer removes that data and changes the status from loggedIn to loggedOut.
The reducers must be pure and they should work on immutable data. The Redux Toolkit uses the immer library under the hood so that it appears that you are writing mutable code (as above), but in fact, the Redux Toolkit manipulates the state as immutable data using the immer library (see more in Immutable Updates with immer).
Using the State
The file login-reducer.ts provides selectors for the state:
export const selectUser = (state: RootState) => state.loginState.username;
export const selectLoginStatus = (state: RootState) => state.loginState.status;
export const selectToken = (state: RootState) => state.loginState.token;
Then you can use the state selectors. Example in product_groups.tsx:
export default function ProductGroups() {
  const loginState = selectLoginStatus(
    useSelector((state: RootState) => state),
  );
  const token = selectToken(useSelector((state: RootState) => state));
  const navigate = useNavigate();

  const productGroupsSWR = useSWR<ProductGroupsResponse>(
    [productGroupsUrl, "get", null, token],
    ([url, method, data, token]) =>
      fetchJSONWithToken({ url, method, data, token }),
  );

  useEffect(() => {
    if (!(loginState === "loggedIn" && token)) {
      navigate("/login");
    }
  }, [loginState, navigate, token]);

  if (!(loginState === "loggedIn" && token)) {
    return null;
  }
...
We use the above mentioned selectors to get the loginState and token from the Redux store. Then we can use the state in our logic, example in useEffect above: if the state is not loggedIn or we don’t have the token, then we send the user to the Login page.
Another example is the header component (header.tsx):
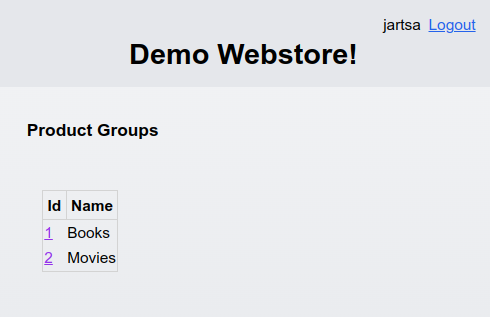
Header component with the logged-in username and the logout link.
… and the code:
const Header = function () {
  const dispatch = useDispatch()
  const navigate = useNavigate();

  const loginState = selectLoginStatus(
    useSelector((state: RootState) => state),
  );
  const user = selectUser(useSelector((state: RootState) => state));

  const handleLogout = (e: React.MouseEvent<HTMLElement>) => {
    e.preventDefault();
    dispatch(logout());
  };

  return (
    <div className="flex grow bg-gray-200 p-4">
      <div className="flex flex-col grow">
        <div className="flex justify-end">
          {loginState === "loggedIn" && user && (
            <div className="flex justify-right gap-2">
              <p className="">{user}</p>
              <a href="#" onClick={handleLogout} className="font-medium text-blue-600 dark:text-blue-500 hover:underline">Logout</a>
            </div>
          )}
...
I.e, if the user is loggedIn and we have the user, we show the username and the logout link in the header. The logout link has a handler which calls the logout reducer which we explained earlier.
Conclusions
In this blog post I explained how I created a state management solution in a React application using the Redux Toolkit library. The new Redux Toolkit library makes it simpler to use the React store, and you should use it instead of using the Redux framework itself.
The writer is working at a major international IT corporation building cloud infrastructures and implementing applications on top of those infrastructures.
Kari Marttila
Kari Marttila’s Home Page in LinkedIn: https://www.linkedin.com/in/karimarttila/